Morph Target / Shape Keys
Ok, these are actually pretty easy to author / edit.
- In blender, click on your mesh and go to the data tab (green upside down triangle guy)
- Make sure your asset has been modeled in a sensible “default” position

Click the plus sign and add a shape key - it will be called “Basis”
- Click the plus sign and add a shape key - it will be called “Basis”
- Don’t change anything here - you are just defining the base pose essentially. If you need to go back and make edits to the base make sure basis is selected before going into edit mode
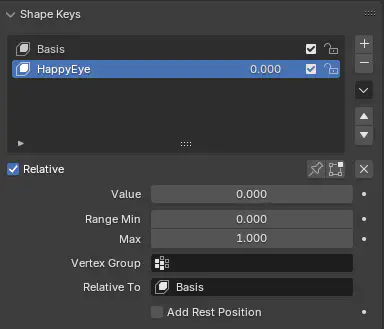
- Click the plus sign again to add a shape key. You can name it to keep track.
- Click the plus sign and add a shape key - it will be called “Basis”
- With the newly created shape key selected, now you can go into edit mode and make changes
- Move verts around to create your shape key
- As long as you don’t change the topology, any changes you make here are automatically set as for the shape key
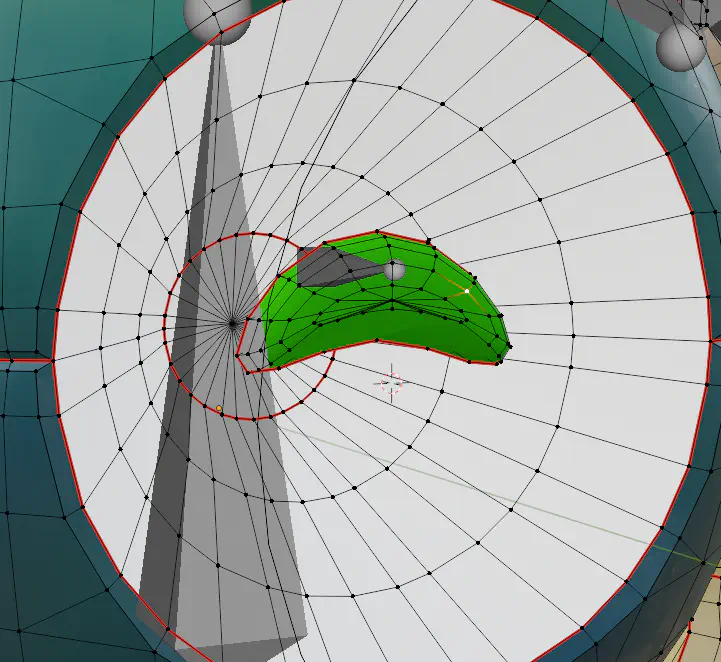
- For example, I took the scanner bot’s normally circular eye and made it a happy shape:
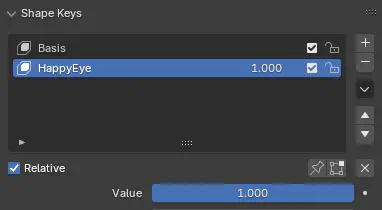
- When you exit edit mode, your edits will disappear - you can now change the “value” on the shape key thing to preview the animation
- You can set the range min and max to overdrive / invert the key - great for overshoot anims
- The alpha is clamped in blender by these values but UE ignores the clamp
- You can set the range min and max to overdrive / invert the key - great for overshoot anims
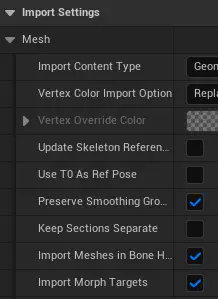
- You can export the mesh normally - in UE, you’ll have to make sure “Import Morph Targets” is set on the import settings:
- The morph target curve is directly editable / settable in montages
- Keys should be able to be animated in blender and imported as animations as well, but I think there may be an extra step for exporting these values (baking animation?)
- I have not tried this yet, but I’ve seen a bunch of people complaining about it.
- Exporting as ABC avoids this problem, but will instead rebase your mesh entirely. May be fine for simple assets / plants etc