The BP_SplineRootTool tool is used for making tapered splines in the editor. Once baked they are cheap to render, and support collision. If you are doing very complex roots Blender / zbrush are still better tools but for making in context roots this thing works great.
Combining all the techniques
Draw some roots
- Under the collections tab, select Roots
- There are several presets of roots to choose from - you can start with one of these and make per instance changes if you like
- Before dragging one in, head to “modeling mode”
- Click “Draw Spline”
- Left click and drag in the viewport to draw the spline (works more or less like blender)

Use these settings in modeling mode > Draw Spline. You may want to tweak min point spacing depending on how large the mesh is going to be and how precisely you want the spline to follow corners
Tips
- You can release and click again to continue that line (good for changing viewports midway through)
- Once you are finished with the spline, click accept. Don’t worry about it being perfect you will almost certainly have to edit it after.
Taper
Under the details panel of the new BP that spawned in world, scroll down and click “Set Manual Spline Scale Gradient”, then force an update by either changing a value on the detail panel or wiggling a spline point This automatically tapers the scale of all the spline points along the spline to a conical shape. You can (and probably will) manually tweak these but its a good start
 manually tweak these but its a good start alt text alt text 0xc0008a9440} 2 false}")

You can set a different curve to use if you would like.
Reducing spline points
After placing ya likely have way too many points for effective manual editing. You can click “Optimize Spline” to clear out redundant ones.
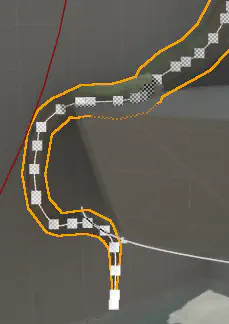
- You may have to click it a few times. It’s a pretty stupid algorithm that looks for similar tangents and lazily deletes some. You will likely need to do some manual deleting later anyways, but it’s a start
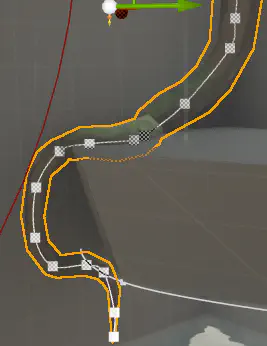
- It loves to make weird geo. Futz with it.

- Usually it is just a matter of massaging the points to create cleaner turns. Sometimes you might need to rotate a point to get it to resolve better.
Detailed Settings
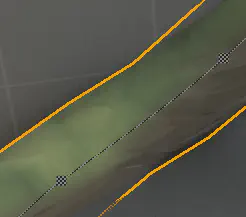
Spline mesh factor
Spline mesh factor adds more samples along the spline (more resolution) to smooth out potential garbage.![]()
I’ve found that keeping this as low as possible generally gives better results / cleaner. Don’t worry about jaggies too much, it’s style baby! You can change the radius of the whole mesh with MainMeshScale. Dunno why I made this a Vector2, only the first value is used.
![]()
Other Settings
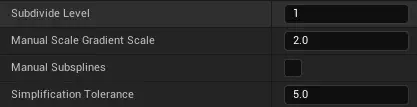
- Subdivide is a regular ole subdivision modifier on the whole mesh after generating
- Gradient scale is a multiplier on the curve when setting the scale gradient. Generally wanna leave this at 2
- Manual subsplines don’t really work very well so I recommend keeping this off for now
- Simplification tolerance controls the simplification amount - the higher the number, the more crunched the mesh gets. I’ve found that pushing the mesh more on the simple side often solves visual errors caused by verts bunching up and can actually look cleaner, so I have it set pretty high by default.
Baking
You can bake down these assets non-destructively the same way the “SplineWallTool” works

- You can select multiple and do many at once, keep in mind they do not merge together but instead will bake in series. (we can merge later if we need to)
- You don’t need to worry about doing this as you work, but keep in mind that they will not have a distance field until you bake (No lumen occlusion!)
- You can swap back to dynamic with:

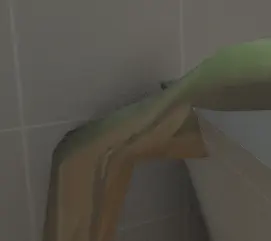
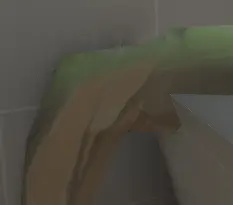
Example techniques:
You can non uniformly stretch and squash the spline - really useful for getting interesting shapes. When drawing, the spline collide with each other, making it easier to do the cool thing. There is no true bifurcation, but you can easily get away with bashing. Wide, flat sections can look really nice hugging playable geo.


Happy rooting!